TRI.NET User's Guide: Results
On this page:
- Results Interface
- Sort Data
- Open and Save Query
- Send to Microsoft Notepad
- Send to Microsoft Excel
- Send to Browser
- Select data
Results Interface
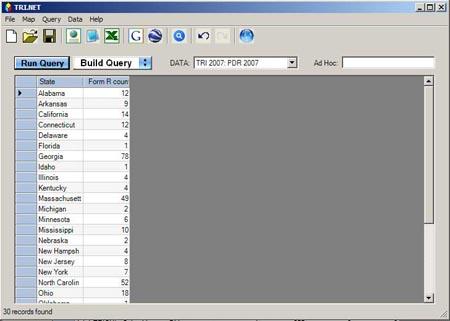
Query results are presented in a sortable grid or table format. The table includes a column for each GROUPING variable and the DATA variable selected in the query. FILTERING variables are not presented unless the corresponding GROUPING or DATA variables are selected. For example, a query of Form R count grouped by State and filtered by industry NAICS 313 - Textiles will present industry only if the GROUPING variable Industry is selected. A count of records found, equal to the number of rows presented, will be displayed at the bottom left of the screen.
The following illustration shows the results for Form R count grouped by State and filtered by industry NAICS 313 - Textiles (note: GROUPING variable Industry is not selected).
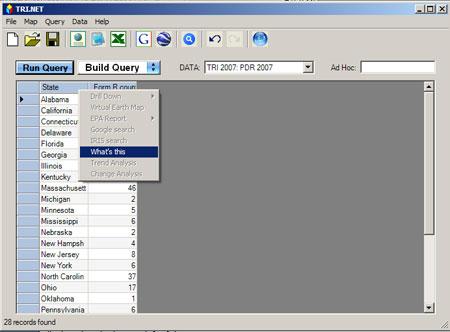
What's this?
In the results interface, the "What's this" option can be used to get documentation for the variables presented. For example, to learn what State means, you can right-click on the column header and then click on "What's this." This will open your Web browser to a page with an explanation of the State variable.
Sort Data
You can click on any column headers in your results to sort the presented data. To sort results by a variable in ascending order, click on the column header once. To sort results by a variable in descending order, click on the column header twice. A triangle will appear in the column header to indicate whether the sort is ascending or descending.
Results sorted by Form R count in descending order:
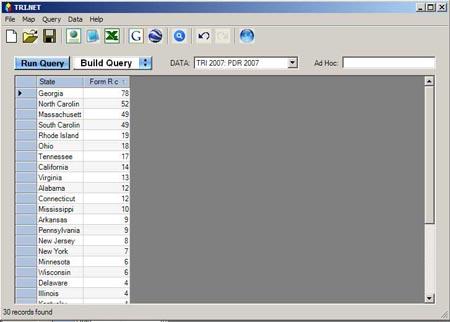
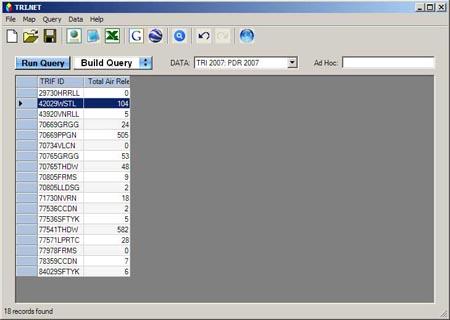
NOTE: To quickly see which facilities reported the 85 form R's in Georgia, just right-click on "Georgia" and then select "Drill Down → Facility" to drill down to facility. If you decide you want to see which chemicals were released, just click  to go back to the previous query, then "Drill Down → Chemical."
Open and Save Query
Queries can be saved to disk. The query is saved by default in the examples subdirectory. The saved query represents the instructions to build the query, rather than the output from running the query. The query output is saved by sending it to Notepad or Excel. To save the query as a file:
- Click
 and give the query a name, or
 - Select "File → Save Query As"
Queries that have been saved can be opened and run. To open a query:
- Select "File → Open Query."
Finally, click "Run Query" to execute the query.
Send to Microsoft Notepad
You can send the query results to Notepad as a text file by:
- Clicking
 , or
, or - Selecting "File → Send To → Notepad"
This will launch Notepad in a new window, populated with the results.
Send to Microsoft Excel
You can send query results to Microsoft Office Excel as a spreadsheet by:
- Clicking
 , or
, or - Selecting "File → Send To → Excel"
This will launch Excel in a new window, populated with the results.
Send to Browser
You can send the query results to the default browser by:
- Selecting "File → Send To → Browser."
This will render the query output in a new browser window.
Select data
Selecting rows enables you to use the mapping features in TRI.NET and to copy and paste rows into other programs (e.g., text editor or spreadsheet programs).
You can select an individual row by clicking the blue rectangle at the far left of the row:  .
.
The entire row will be highlighted when it has been selected:
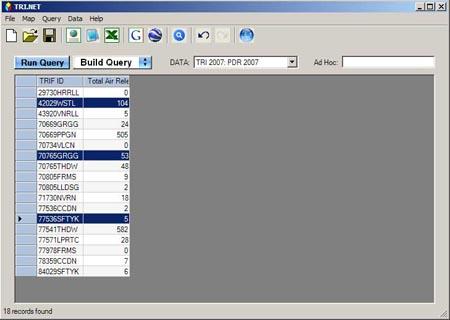
You can select multiple rows by holding the Ctrl key down while selecting each row. All selected rows will be highlighted.
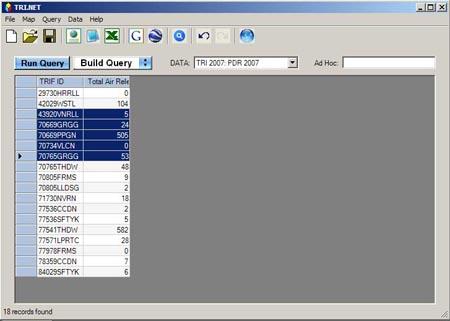
You can select a continuous range of rows by selecting the first row, then holding down the Shift key, and selecting the last row. You can also select the first row and then drag the mouse to select a range. All of the rows in the selected range will be highlighted.
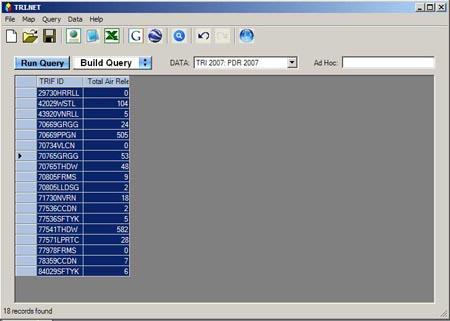
You can select all rows by:
- Clicking any cell in the table and then typing Ctrl+A, or
- Selecting "Map → Select All," or
- Clicking the blue rectangle in the top left corner of the table.
Individual rows that are already selected can be de-selected by holding down the Ctrl key and clicking on the blue square at the far left.